AWS Windows Migration Accelerator helps reduce the cost of your migration when you accelerate the migration of Windows servers using AWS Application Migration Service.
AWS MGN is a highly automated lift-and-shift solution, which works by replicating your on-premises (physical or virtual) and/or cloud servers (referred to as “source servers”) into AWS account. AWS MGN automatically converts and launches om-premises servers on AWS so one can quickly benefit from the cost savings, productivity, resilience, and agility of the cloud. Once the applications are running on AWS, one can leverage AWS services and capabilities to quickly and easily replatform or refactor those applications.
In this example, we will use AWS Application Migration Service (MGN) to rehost one Windows Application Server from one region to another region.
Create IAM user for AWS Replication Agent:
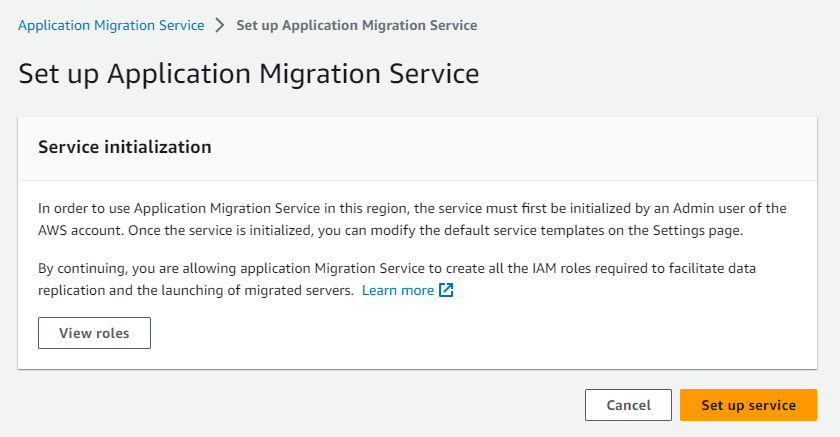
In the “Set up Application Migration Service”, we can see “View Roles” and create an IAM User using proper Policy.
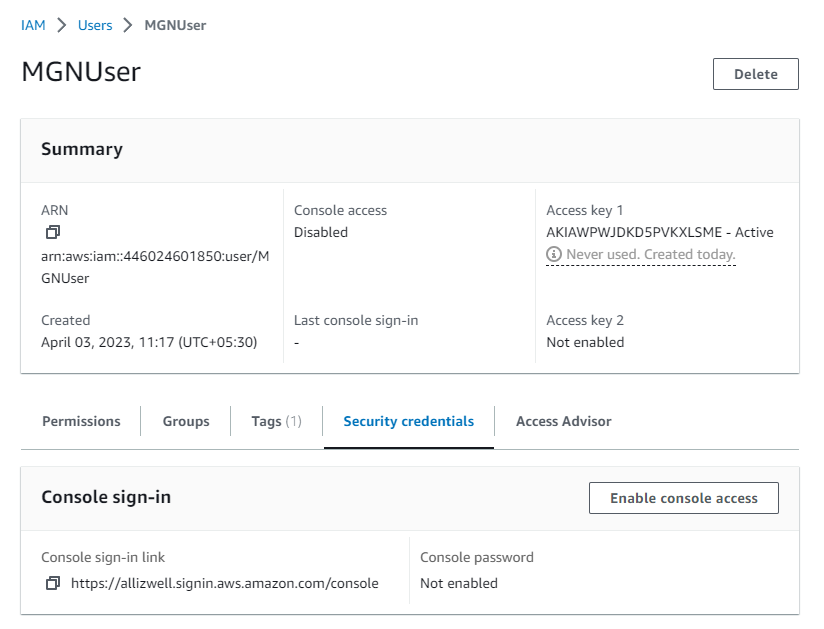
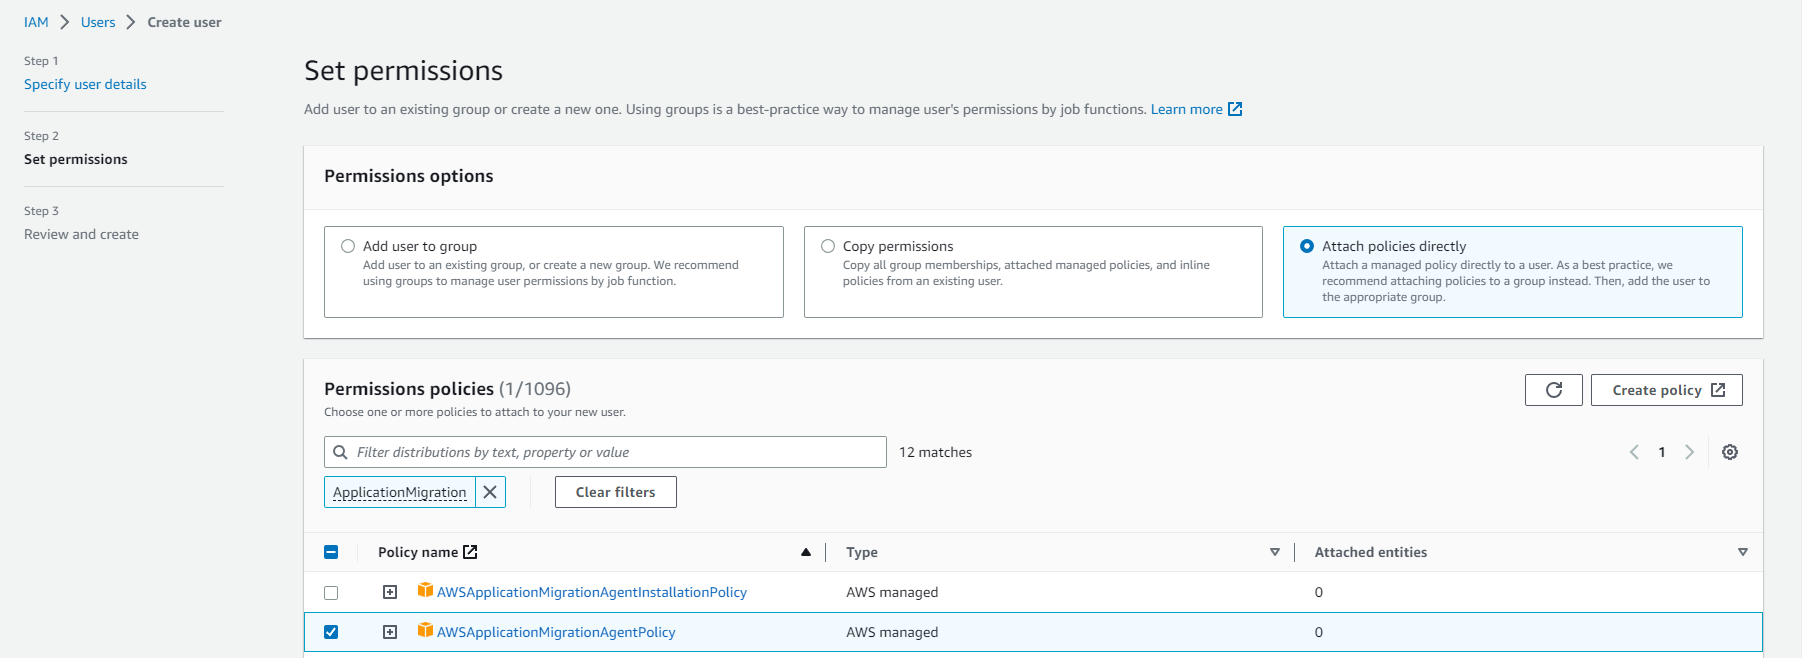
We have created MGNUser with AWSApplicationMigrationAgentPolicy and get Programmatic Access Keys.
Create the replication settings template:
We need to edit the Replication Template which has been automatically created.
We can select Staging Area Subnet and Server Instance Type and Volume
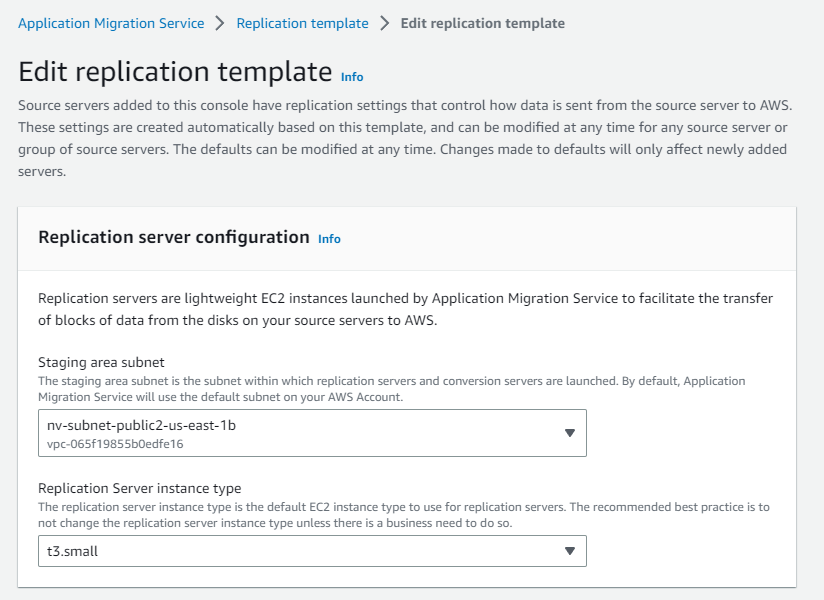
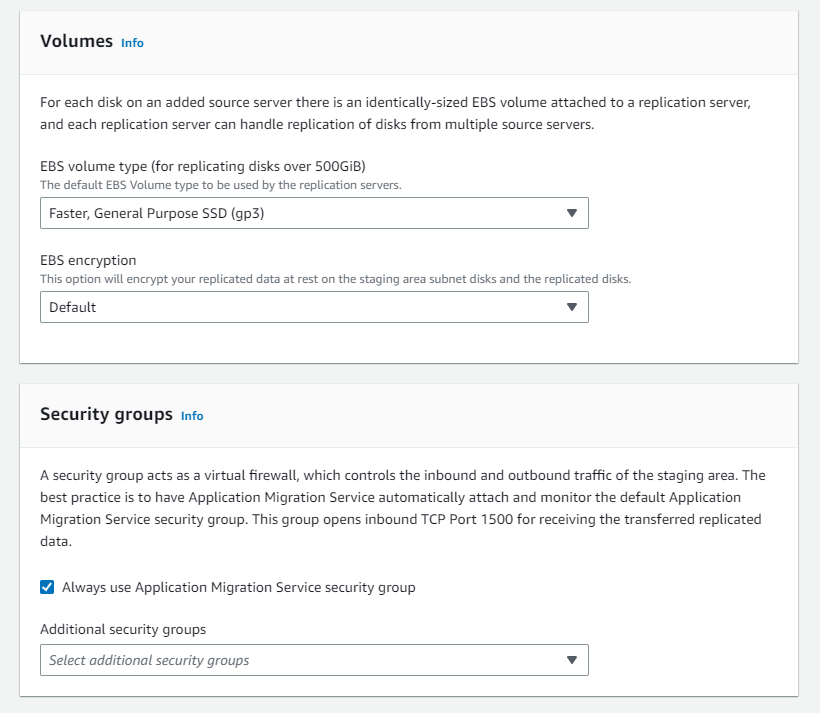
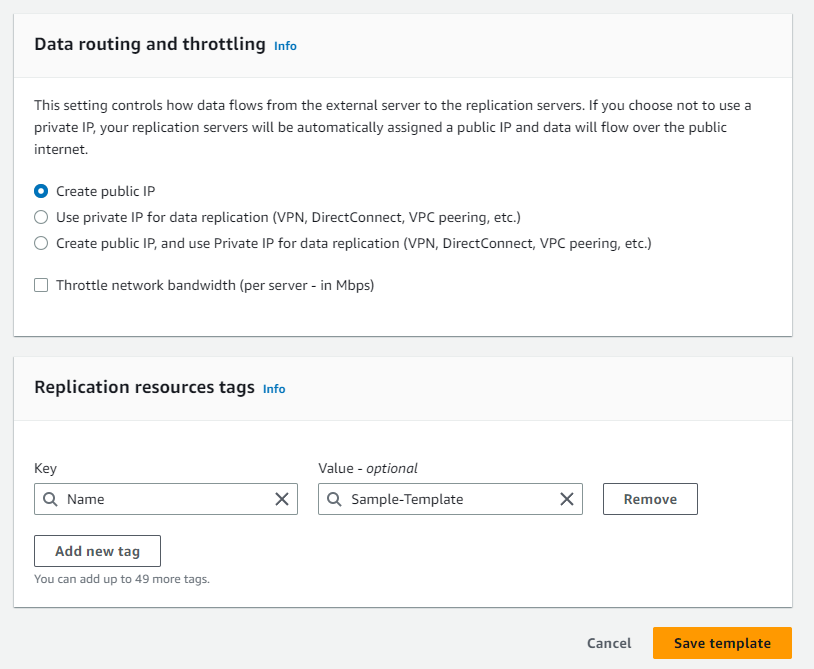
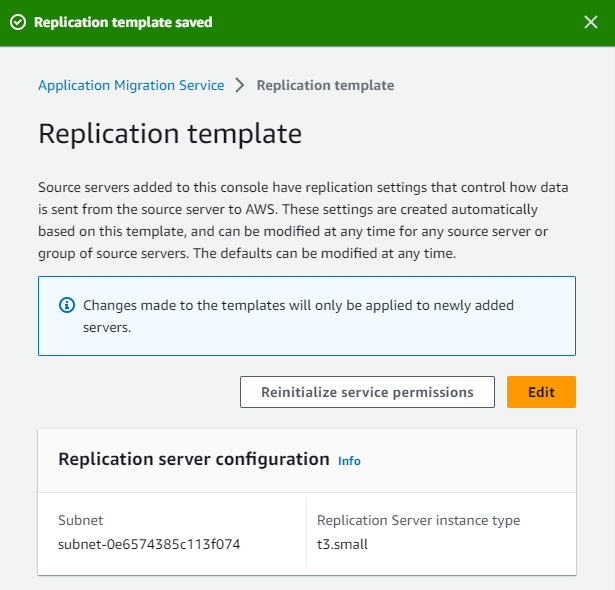
Now the Replication Template is updated.
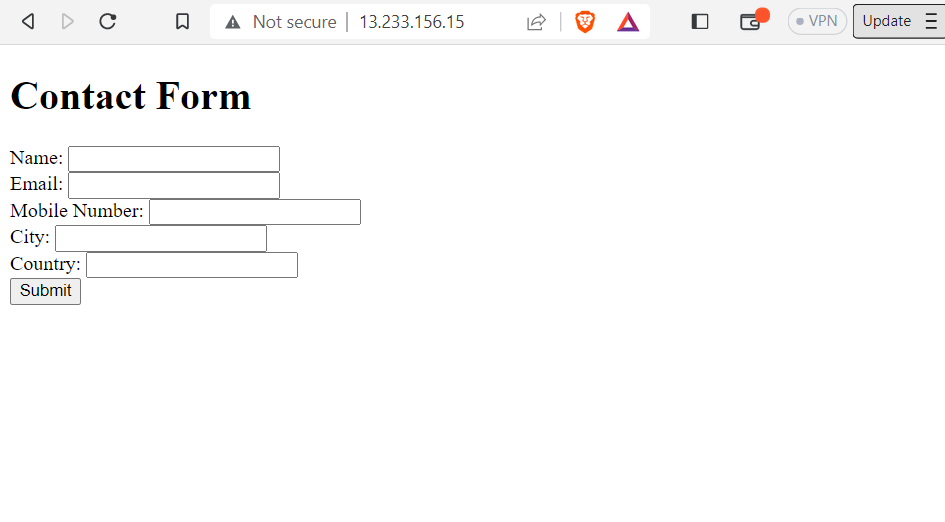
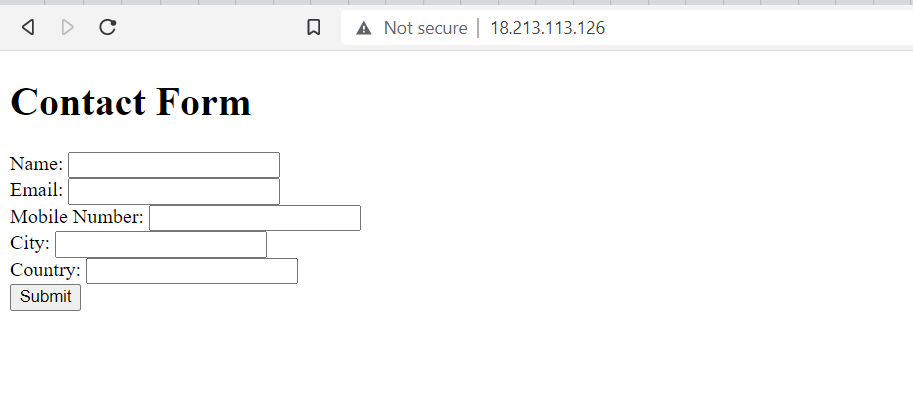
We need this website which is hosted on a Windows Server to be rehosted in North Virginia Region.
Install the AWS replication agents:
After AWS MGN has been initialized with the creation of the replication settings template, and the required AWS credentials with the necessary permission, now we will install the AWS replication agent on the source servers on-premises.
For Windows System download the Agent installer (AWSReplicationWindowsInstaller.exe).
The following is an example of the installer link for us-east-1:
https://aws-application-migration-service-us-east-1.s3.us-east-1.amazonaws.com/latest/windows/AwsReplicationWindowsInstaller.exe

We will download the file from any web browser.
Run the agent installer file – AWSReplicationWindowsInstaller.exe – as an Administrator. The CMD will open.
To run the installer with the default settings, enter the AWS Region Name, the AWS Access Key ID and the AWS Secret Access Key.
Once we have entered the credentials, the installer will verify that the source server has enough free disk space for Agent installation and identify volumes for replication. The installer will display the identified disks and prompt we have choose which we want to replicate.
The installer will confirm that all of the disks were successfully identified.
After all of the disks that will be replicated have been successfully identified, the installer will download and install the AWS Replication Agent on the source server.
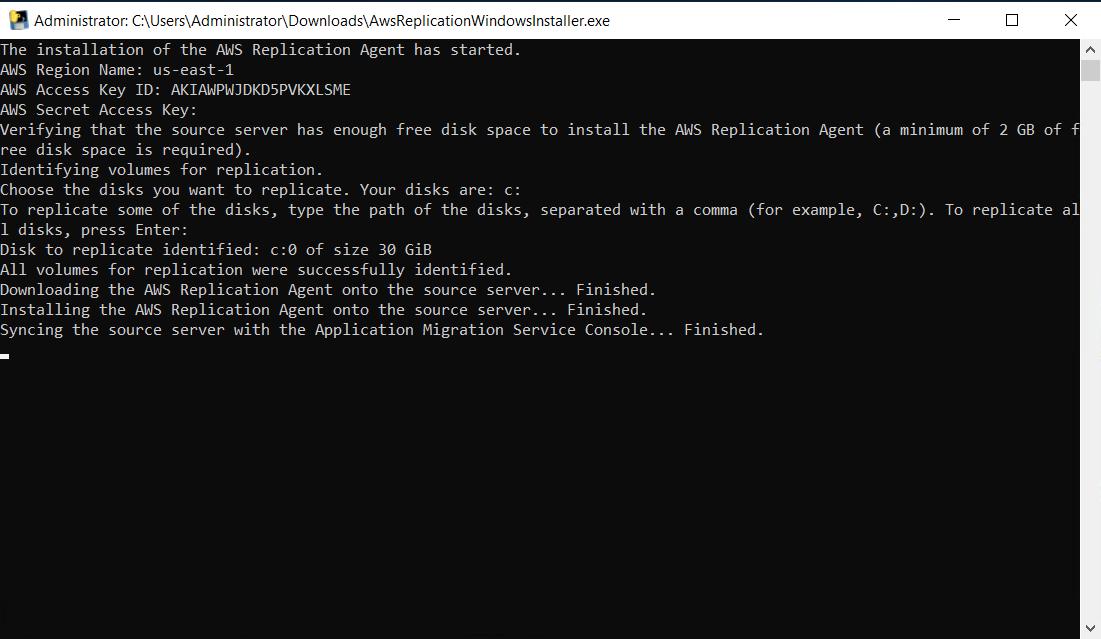
Once the AWS Replication Agent is installed, the server will be added to the Application Migration Service Console and will undergo the initial sync process. The installer will provide you with the source server’s ID.
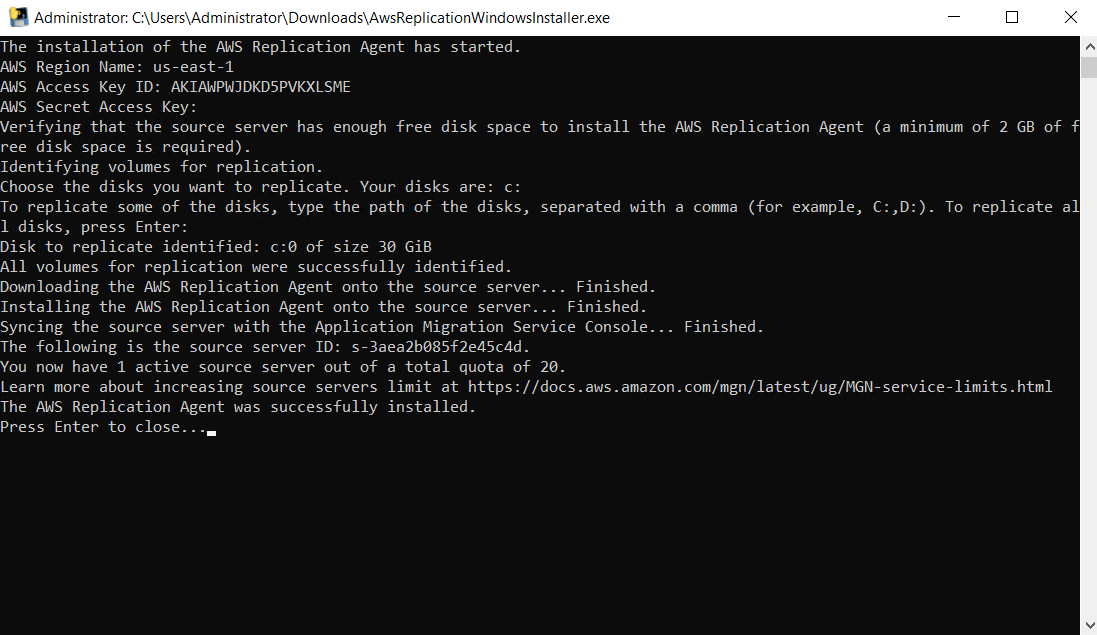
After installing the AWS replication agent on the source servers, return to the AWS MGN console to validate the source servers in the console. Please note that the source servers are added to the AWS MGN console by installing the AWS replication agent on the source servers.

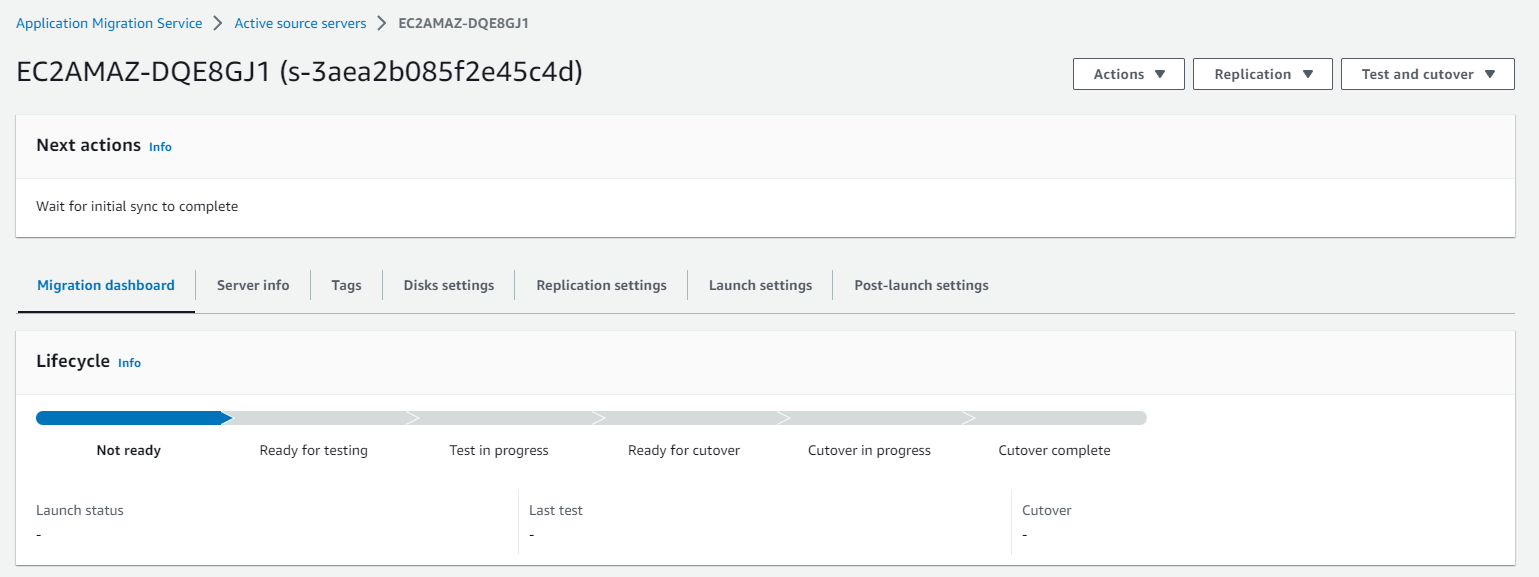


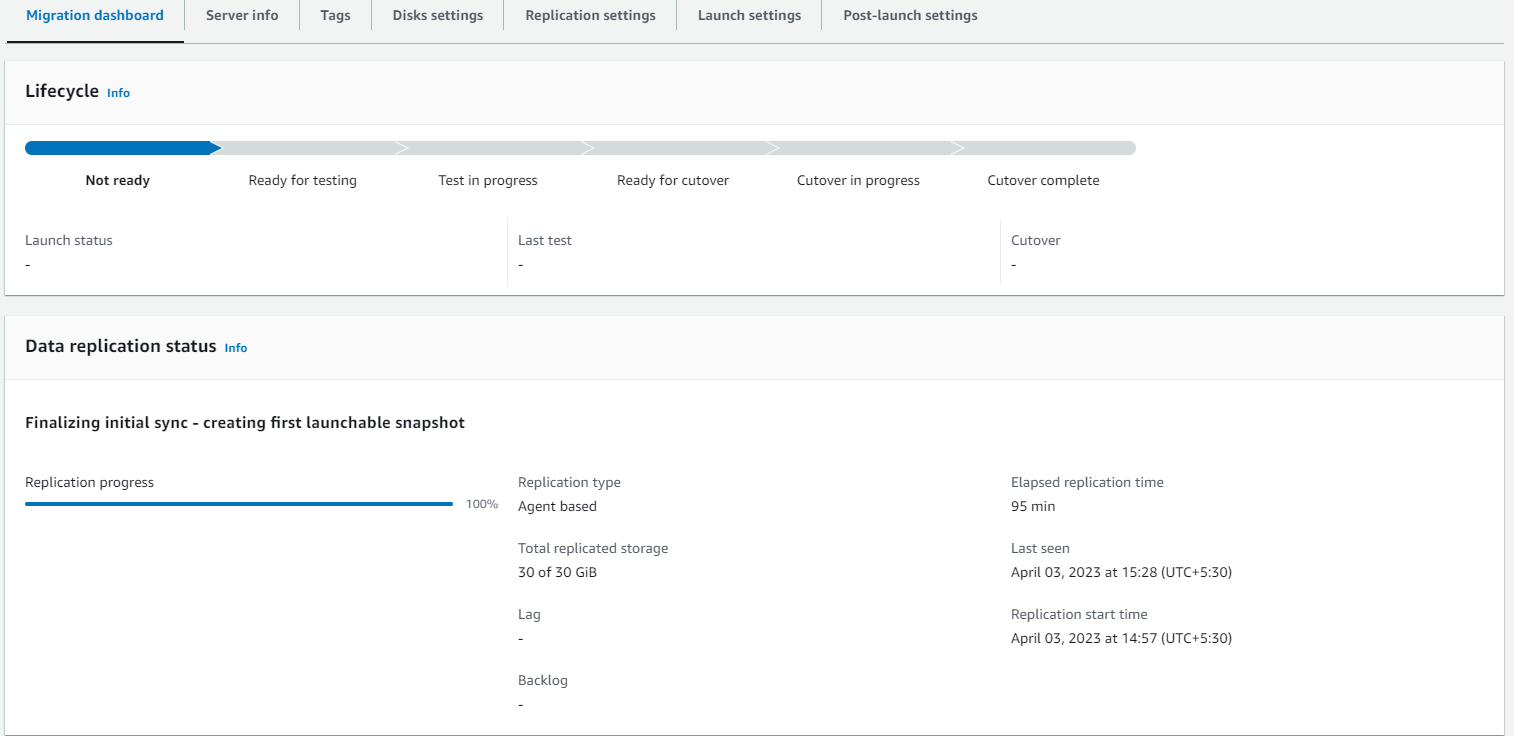
After the initial sync is complete, the migration lifecycle displays Ready for testing and the data replication status displays as Healthy.


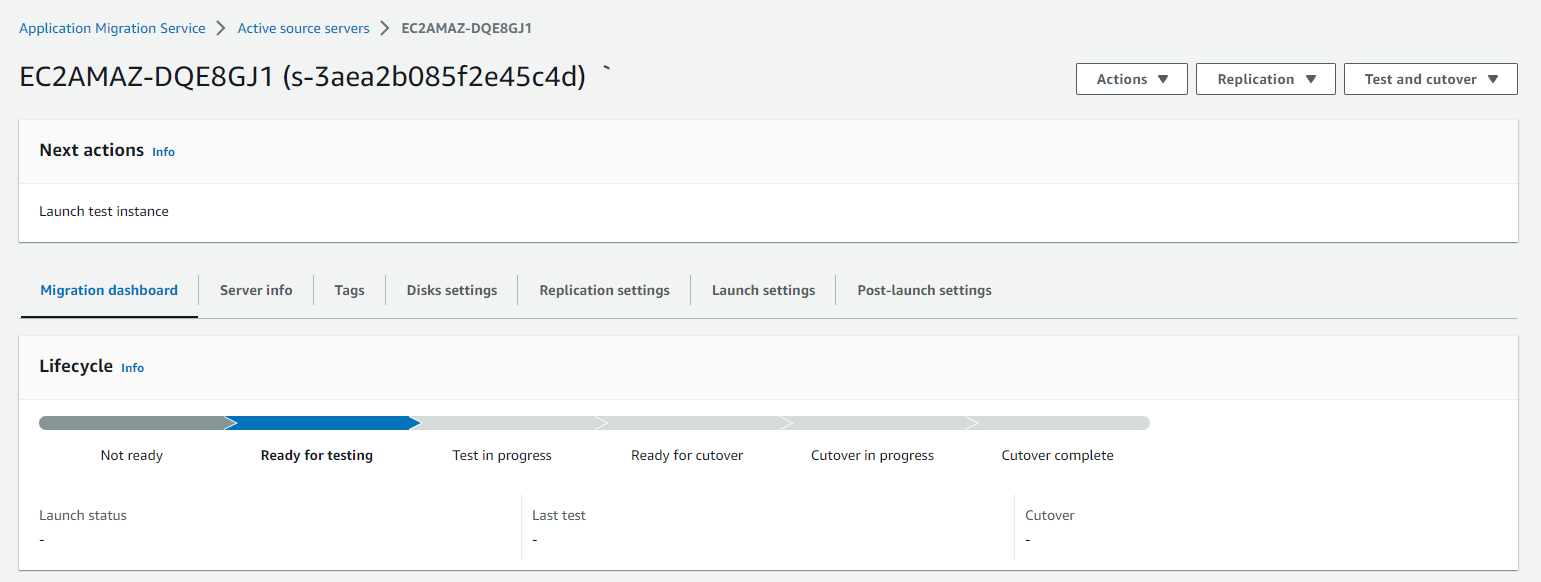
Configure the launch settings
Prior to testing or cutting over an instance, configure the launch settings. The launch settings are a set of instructions that determine how a test or cutover instance is launched for each source server in AWS.
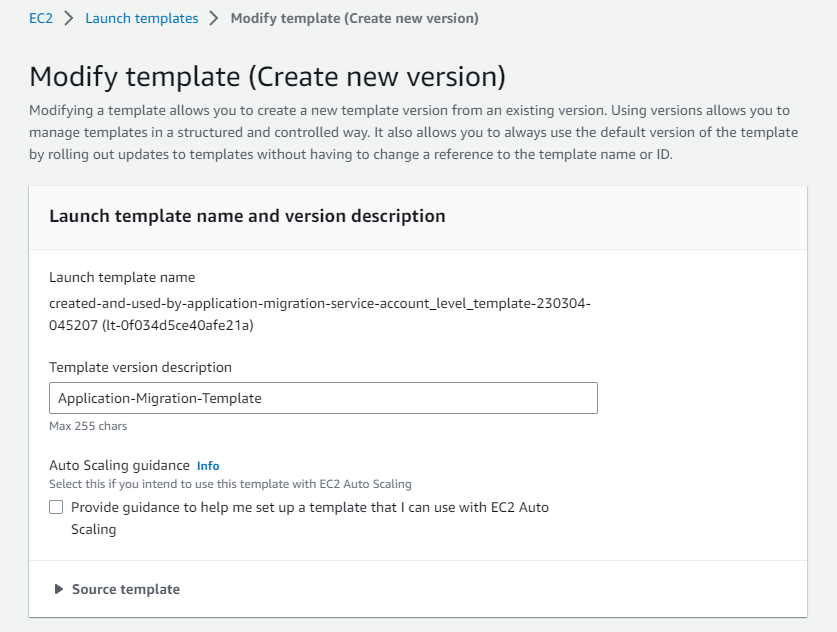
Launch settings are comprised of two sections: general launch settings and Amazon EC2 launch templates.
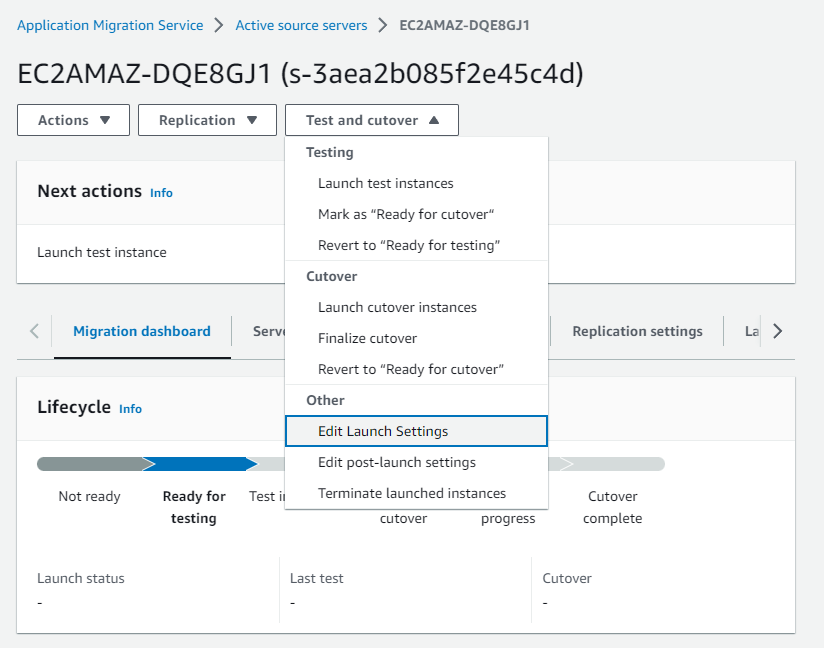
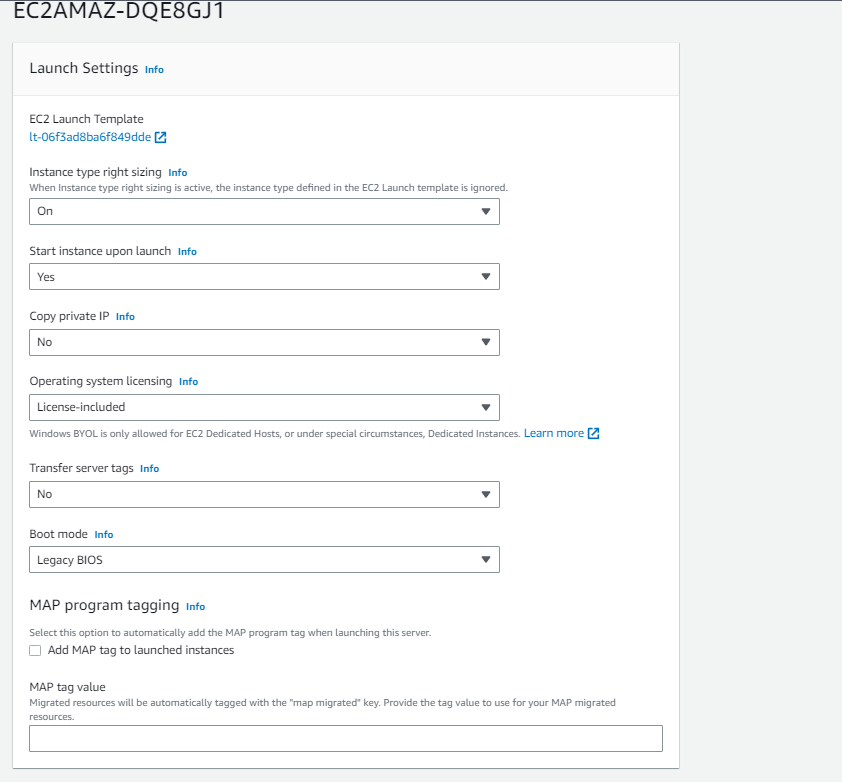
We will edit the Launch Template and make updated one default one.

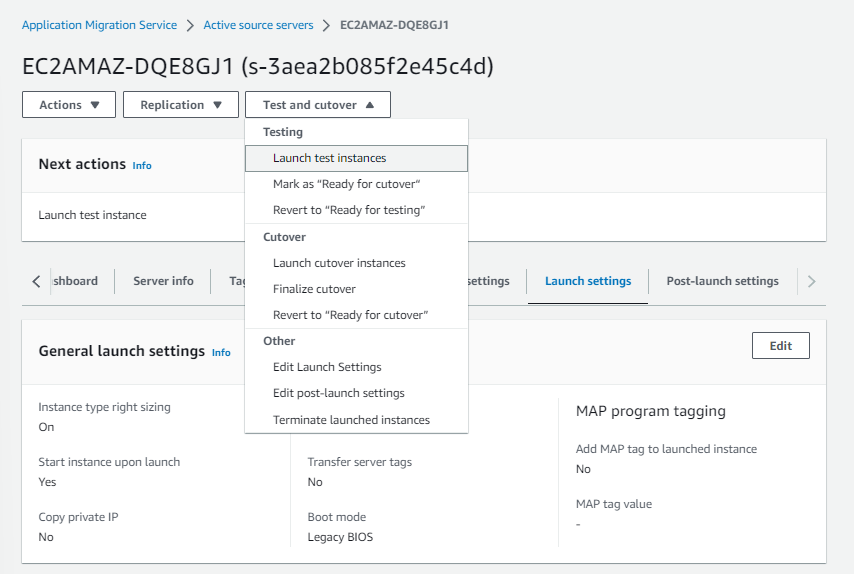
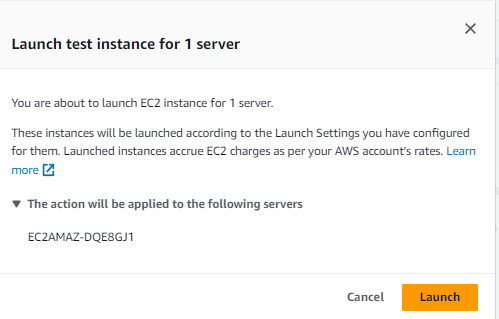
Launch the test instances
Now, that we have configured the launch settings for source server, we are ready to launch the servers as test instances. Best practice is to test instances before cutover.
On the MGN console page, make sure that your source servers are ready for testing by looking at the following indicators. The source servers are Healthy and Ready for testing.
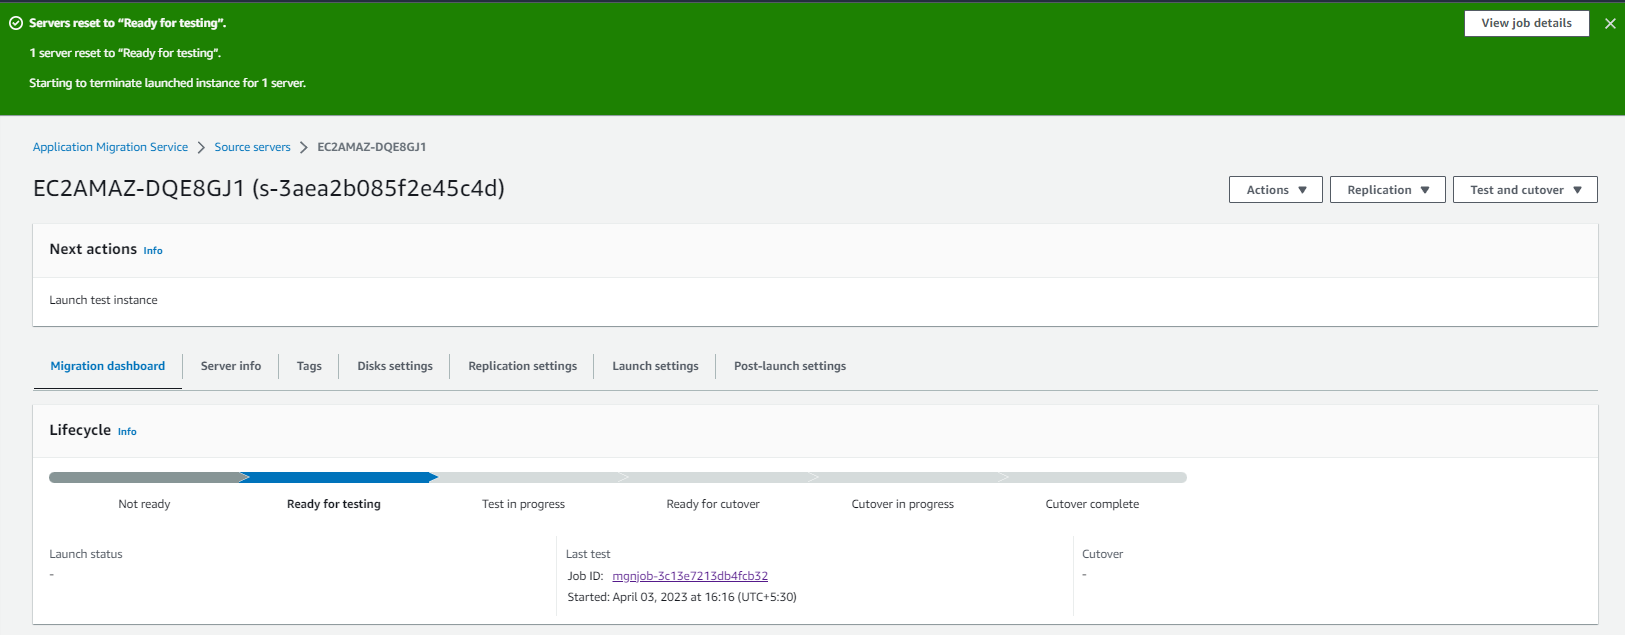
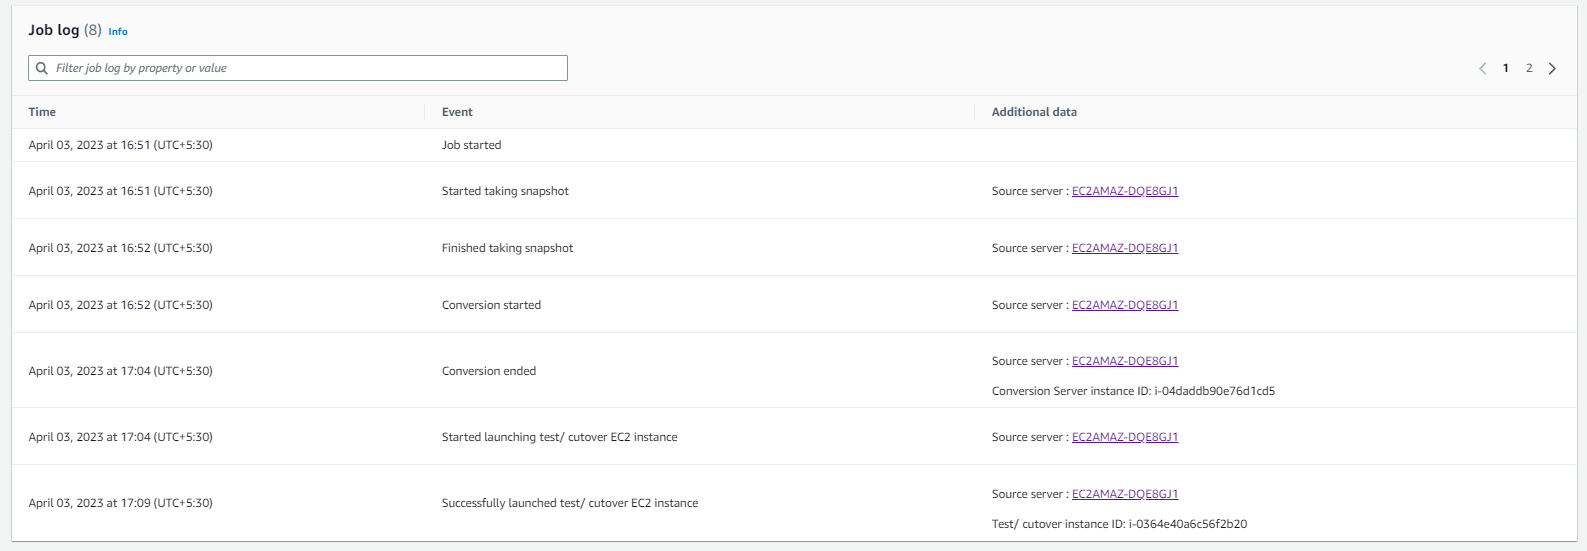

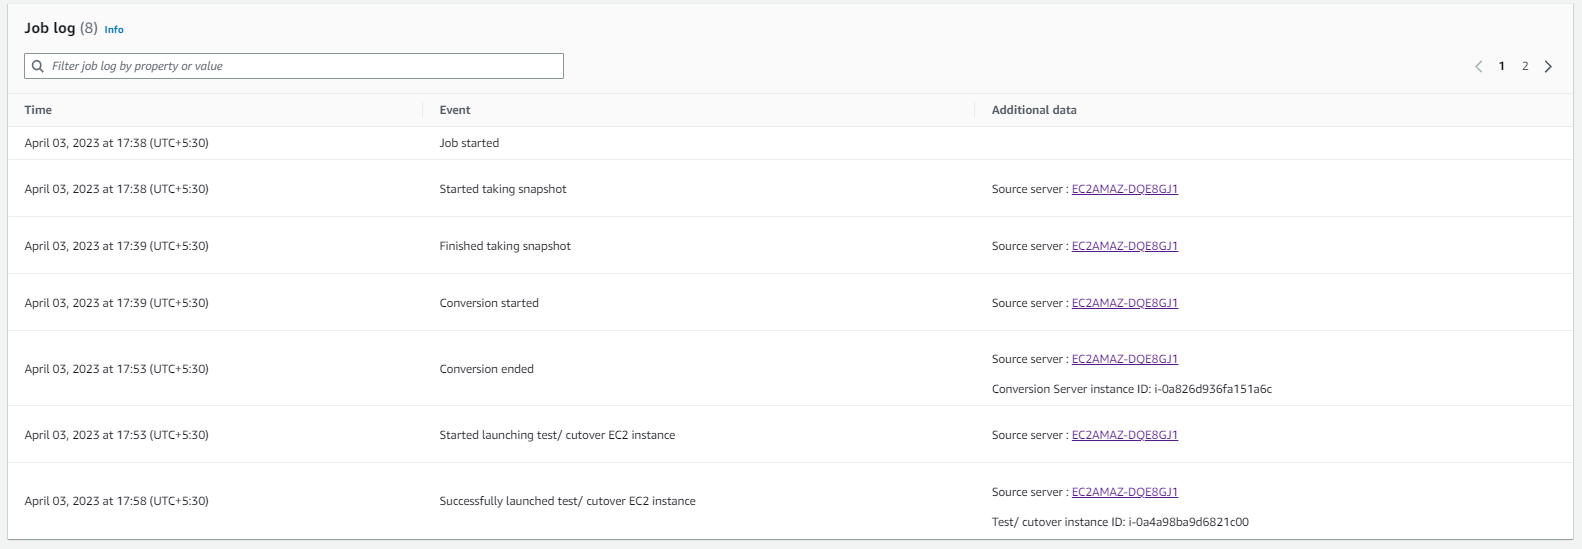
Make sure that the Migration lifecycle indicates that Test in progress, then select View job details in the top right corner to view the MGN job log details.
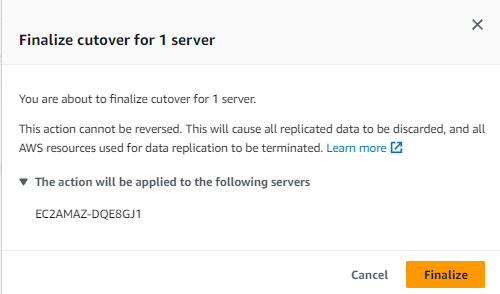
Now that you have successfully performed a cutover, you can finalize the cutover. This changes the source servers Migration Lifecycle status to Cutover complete. In addition, this terminates the Replication Server and all data replication is stopped and discarded.
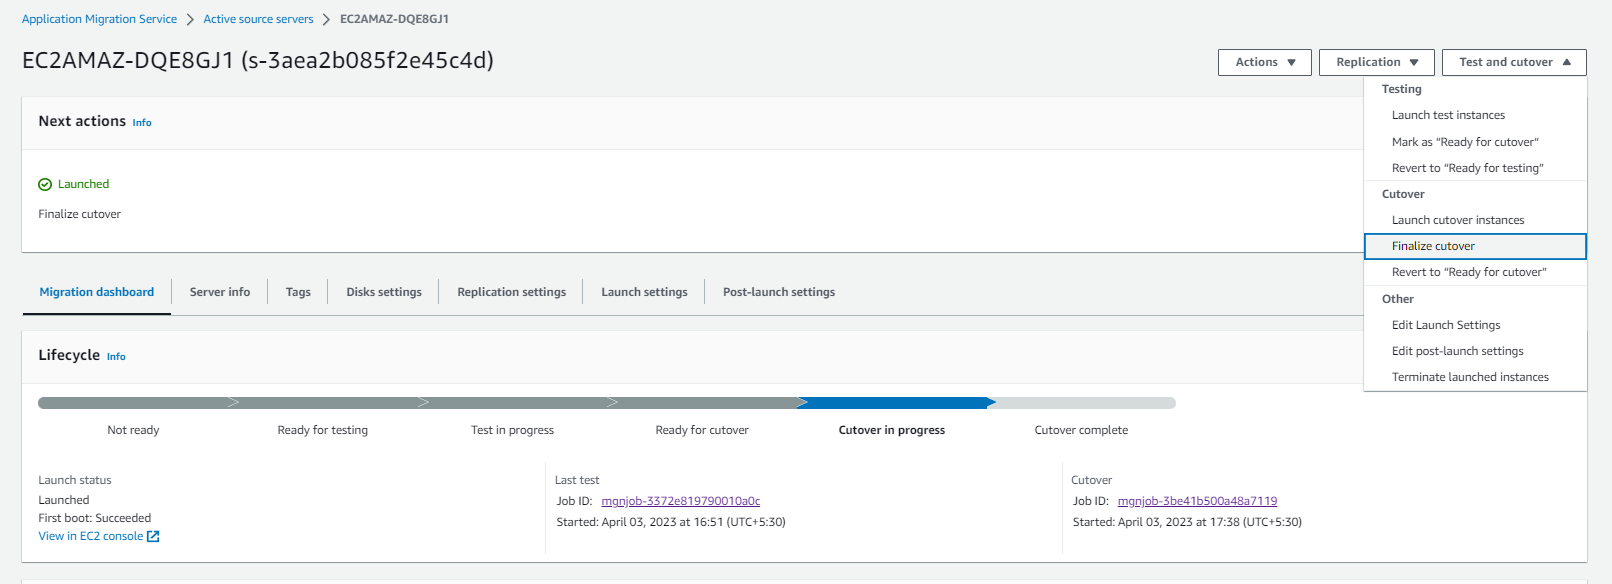
In the MGN console, select the boxes next to the source servers that you want to finalize cutover. Select Finalize cutover from the pull down menu under Test and Cutover.
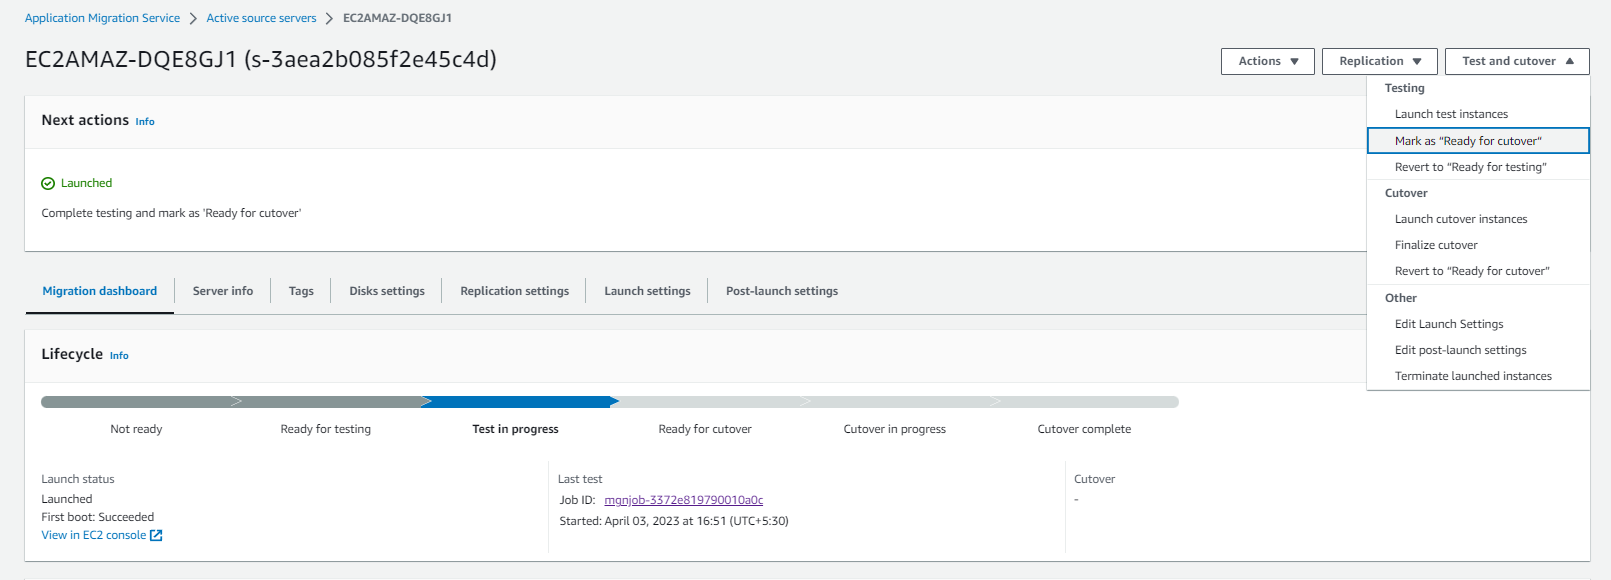
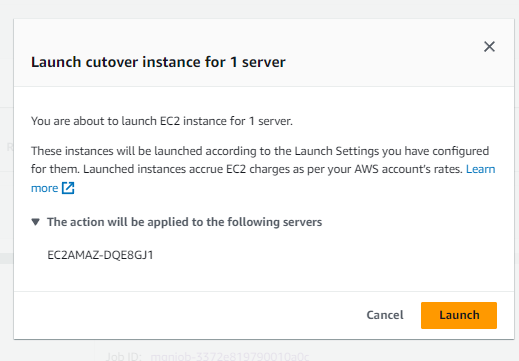



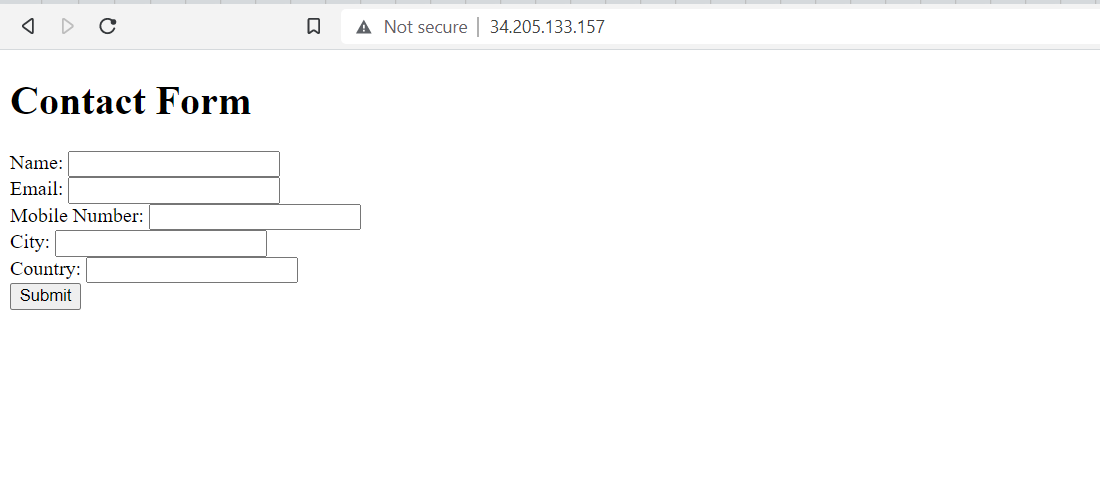
When the Finalize cutover dialog box appears, choose Finalize. This changes the source servers Migration Lifecycle status to Cutover complete.

In this documentation, we have migrated one Windows Application Server to Another in AWS North Virginia Region.


